I wrote previously about the steps necessary to make a contribution to an open source project via a Pull Request to Github. In that post I outlined the steps necessary to find and add/fix fields in package.json files for node.js modules.
In this post I'm going to walk through the process of fixing a pre-existing bug (i.e., one that is already filed as an Issue on Github) in a node.js based web app: Mozilla Thimble (web app, Github repo).
I. Introducing Thimble
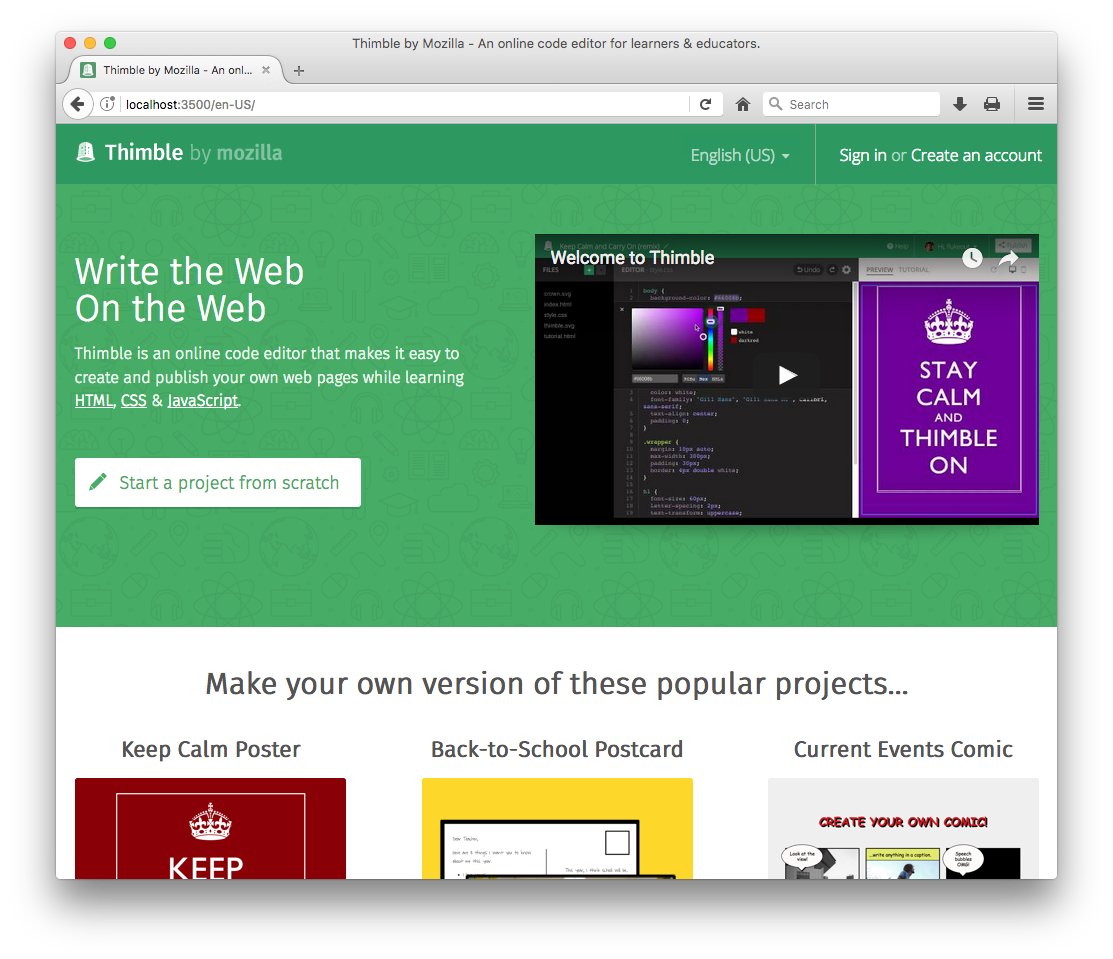
Thimble is an online coding environment specifically geared to teachers, students, and those learning to write code in HTML, CSS, and JavaScript. There is a short intro video that explains it to users on the homepage.
Thimble provides a complete development environment and web hosting solution (using Amazon S3) for free, and does so completely in your browser. Thimble users don't have to worry about installing and running a web server or an editor, manage files, etc. and can instead focus on getting to work learning to code.
From a developer point of view, Thimble is made up of half a dozen different projects and services, including:
- Bramble - a port of the Adobe Brackets code editor for the web
- thimble.mozilla.org - a node.js web app for hosting Bramble, authentication, and publishing web content
- id.webmaker.org - an OAuth authentication and identity service for Thimble
- login.webmaker.org - a Single Sign On (SSO) service for shared authentication across domains
- publish.webmaker.org - a publishing service for user created web content using Amazon Web Services (AWS).
You can read a technical description of Thimble's architecture here.
II. Developing Thimble
In order to work with the Thimble code, you first need to install necessary software and get the code. You will need to have all of the following installed:
Set Up Bramble
Begin by forking Mozilla's Brackets repo (aka Bramble, which stands for "BRAckets in thiMBLE"):
Your forked Brackets repo needs to be cloned recursively, since it includes git submodules for dependent repos (NOTE: change {your-username} to your Github username):
$ git clone --recursive git@github.com:{your-username}/brackets.git
Install all the necessary dependencies for Bramble, and run the build command (to generate various parts of the app):
$ cd brackets
$ npm install
$ npm run build
Finally, you can run the stand-alone Bramble editor by starting a local, development web server:
$ npm start
Bramble is now running at http://localhost:8000 and you can try it in your browser at http://localhost:8000/src/hosted.html (NOTE: the hosted.html file runs Bramble in a hosted iframe, which is necessary for security reasons).
Finally, set up git remotes for your fork, and for the Mozilla upstream repo. By default your origin remote will point to your forked repo, but we need to manually add the upstream (i.e., so we can get updates):
$ git remote add upstream https://github.com/mozilla/brackets.git
Set Up Thimble
Bramble is used (and hosted) within Thimble. To work with it, we first need to fork it:
Next clone it locally (you don't need to do this one recursively, since it doesn't use submodules, but it wouldn't cause problems if you did):
$ git clone git@github.com:{your-username}/thimble.mozilla.org.git
As discussed earlier, Thimble uses many services, which also need to be running. The easiest way to get and run them is to use a pre-configured Vagrant box in order to create a fully configured development environment. To do this, we should do the following:
$ cd thimble.webmaker.org
$ vagrant up
This will download and provision a Linux Ubuntu VM with all the necessary services for Thimble installed and running inside it, then start it. This will take some time, so be patient. While you wait, comfort yourself with the knowledge that every minute it takes to set things up for you automatically is one you don't have to fight with your developer environment manually.
When your Vagrant VM is downloaded and set up, you can work with it from the command line, or using the Vagrant Manager GUI app. Here are some common tasks:
- Stop a VM from running (i.e., put it to sleep):
vagrant suspend - Shut down the OS in the VM:
vagrant halt - Restart a suspended/halted VM:
vagrant up - Re-run the provisioning scripts to install/setup services:
vagrant provision
The files in the Thimble repo you cloned are shared between your local computer's filesystem and the Vagrant VM. This means any changes you make to the files locally will also happen within the VM. It's like working locally and on a server at the same time.
The Thimble web app runs on port 3500
So a typical development session might look like this:
- Restart your Thimble VM:
vagrant up - Do some work in your editor and git
- Finish for the day and suspend your Thimble VM:
vagrant suspend
Now that Thimble and all its related services are setup and running via Vagrant, we can connect to the server by opening our browser to http://localhost:3500/:
III. Fixing a Bug
There are lots of existing bugs already filed by the developers and users of Thimble. You can see all the open issues or just look at those flagged as being good first bugs. The latter are bugs that are deemed to be appropriate bugs for developers wishing to make their first contribution.
Getting Started with a Bug
Let's fix this bug: Issue #1634: Make "menu appears" transition consistent. According to the person who filed it, this bug is about the following:
The publish menu and the gear menu have a different style of appearing. One fades in while the other appears suddenly. Let's make the Publish dialog appear instantly like the gear menu.
With any bug you want to fix, the first step is to try and reproduce it on your machine. If you can't reproduce it, you can't easily fix it. Here's what that looks like on my computer:
Notice how the popup dialog for the Publish button fades in, while the one associated with the "Gear" icon just appears. The inconsistency makes the Publish popup appear sluggish.
The first thing I'm going to do is indicate in the bug my intent to work on it. This is useful to do, so that other people know what I'm doing, and we don't all try to work on the same thing. You don't have to do this--sometimes you might want to try and fix it first before you commit. However, you can always go back later and indicate that you're not working on this anymore.
Create a Topic Branch for the Fix
Every bug we fix is going to need its own branch in git. A common way to name your branch is using the issue number:
$ git checkout -b issue-1634
Here we've created (-b) and switched to (checkout) a branch named issue-1634. Any work we do on this bug, we'll commit to this branch vs. master or some other branch for another bug. We do this because we want to isolate our changes away from the mainline work happening on Thimble, which will happen on the master branch. It might take us a few days or weeks to complete this work, and we want to make it easy to pull new changes from Mozilla's upstream repo. By keeping our work on a separate branch, we won't have any problems.
Here's how you update with the latest changes from Mozilla:
$ git checkout master
$ git pull upstream master
This won't affect our changes in the issue-1634 branch at all, and we can easily switch back to it like this:
$ git checkout issue-1634
Debugging the Problem
We know that clicking the "gear" icon does what we want, while clicking "Publish" doesn't. Somehow we need to compare the code for each of these.
We can use our browser's built-in debugging tools to Inspect the two buttons, and see where their associated click handlers are being executed in the code:
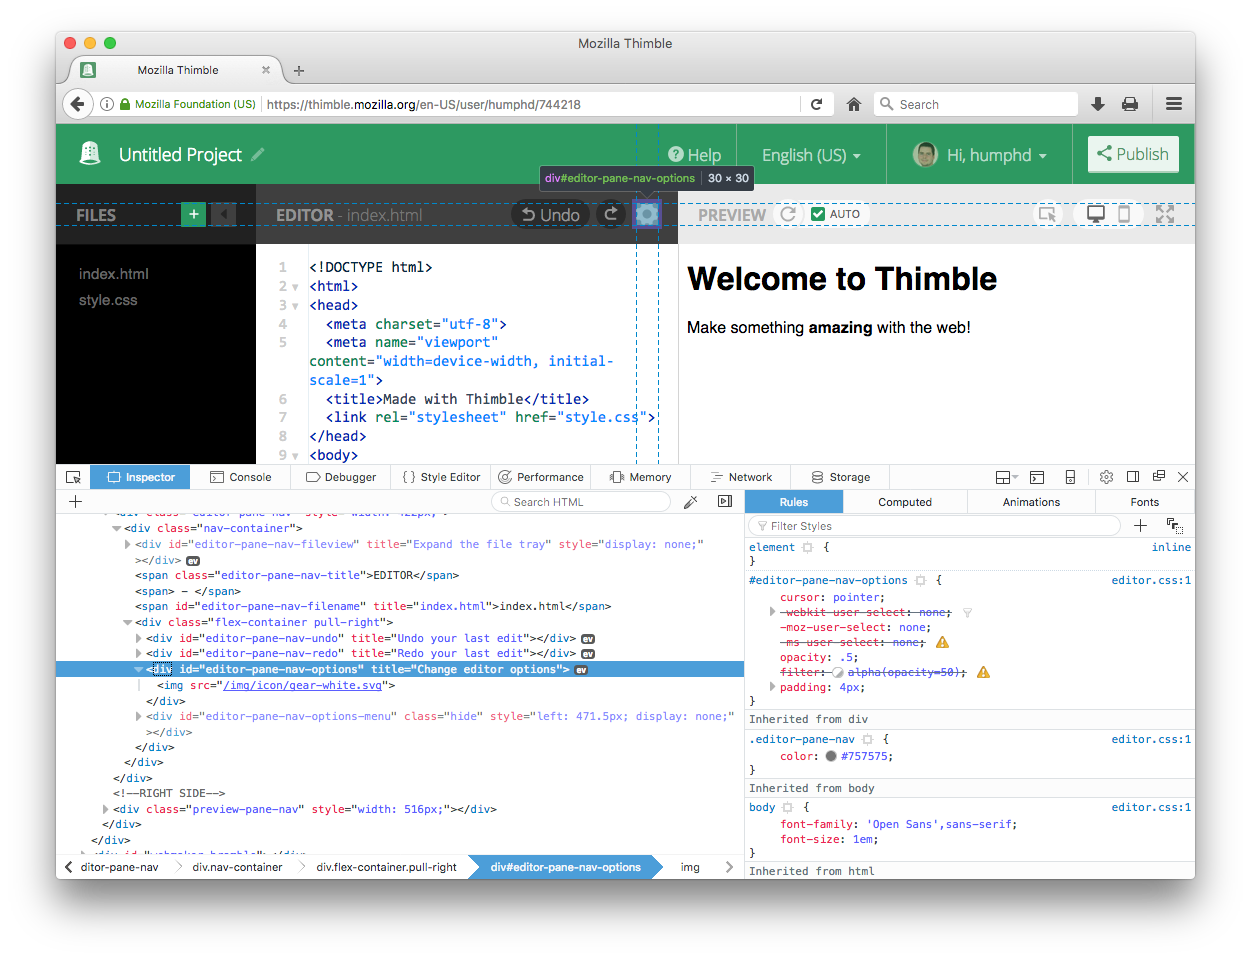
Doing this we find that the two buttons are named as follows:
- Gear Icon:
id="editor-pane-nav-options" - Publish Button:
id="navbar-publish-button"
Knowing the id of an element is useful, since projects like Thimble use localized (i.e., translated) strings, so searching the code for "Publish" is not that useful.
If we search for these two ids on Github, we find the following:
At the time of writing, it looks like clicking the Gear icon calls the following code:
PopupMenu.createWithOffset("#editor-pane-nav-options", "#editor-pane-nav-options-menu");
This function is defined here, and the actual popup is displayed using jQuery's show() method.
On the other hand, the Publish button's click event calls showPublishDialog() which eventually calls jQuery's fadeIn() method.
So it looks like the fix to our bug is to switch the call to fadeIn() to show().
Fixing the Code
We need to make two adjustments to the code in public/editor/scripts/editor/js/fc/bramble-ui-bridge.js:
diff --git a/public/editor/scripts/editor/js/fc/bramble-ui-bridge.js b/public/editor/scripts/editor/js/fc/bramble-ui-bridge.js
index db51472..f692400 100644
--- a/public/editor/scripts/editor/js/fc/bramble-ui-bridge.js
+++ b/public/editor/scripts/editor/js/fc/bramble-ui-bridge.js
@@ -298,13 +298,13 @@ define(function(require) {
       publishDialogUnderlay.remove();
       publishDialogUnderlay = null;

-      $("#publish-dialog").fadeOut();
+      $("#publish-dialog").hide();
       _escKeyHandler.stop();
       _escKeyHandler = null;
     }
     function showPublishDialog() {
       publishDialogUnderlay = new Underlay("#publish-dialog", hidePublishDialog);
-      $("#publish-dialog").fadeIn();
+      $("#publish-dialog").show();

       // Listen for ESC to close
       _escKeyHandler = new KeyHandler.ESC(hidePublishDialog);
Here we've replaced the fadeIn()/fadeOut() calls with show()/hide(). We're ready to commit our changes:
$ git add public/editor/scripts/editor/js/fc/bramble-ui-bridge.js
$ git commit -m "Fix #1634: Use show/hide instead of fadeIn/fadeOut for Publish Dialog"
We add and commit our change, and specify in our commit message that we're fixing #1634. This will cause Github to automatically close the issue associated with our Pull Request. Let's create that now.
Open a Pull Request
We need to get our change added to the Mozilla Thimble repo, but we don't have rights to do that. We do, however, have rights to our fork, so we'll start by pushing our branch there:
$ git push origin issue-1634
This pushes the new commit we added on the issue-1634 branch to the remote repo named origin, which is our forked copy of Thimble on Github. It will also create a new branch on the remote origin repo with the same name as our local branch (i.e., issue-1634).
At this point you can follow the same instructions I outlined in my earlier post about Github PRs, starting at Step 8.
Things to Watch Out For
There are a few things that people commonly run into when fixing a bug like this:
- Make sure your editor uses the same spacing (2-spaces vs. tabs) and newline character (Unix
\nvs. Windows\r\n). A good way to do this is to check this is to view the file Changes on Github, since it will show things like misaligned code, incorrect newlines, etc. If you notice a mistake, correct it, commit, and push again--any new commits you push will automatically get added to your pull request. - Don't change lines that aren't related to your fix. For example, adding or removing empty lines, or fixing other small things you notice. It's best for a bug to be about just one thing. It's good to fix those things, but do it in a new Pull Request, or file a new Issue if you just want to make others aware.
- Be aware of string changes, which will require you to do things in a way that can be localized. See this discussion of how Thimble does localization.
- If you run into problems, or have questions while fixing your bug, feel free to ask them by adding comments to the bug. Anything that might also help another developer is good to put in the bug vs. in a private email, since it will leave a record, be searchable, and will open up your query to a larger audience.
- As mentioned above, if you need to fix something with your pull request after you've made it, just commit new changes on your
issue-1634branch andpushthose to yourorigin. This will automatically add them to the pull request.